Upgrading From BES 5 to Binfer 6
These instructions are only for Self Managed instances of Binfer server.
Limitations when version 5 devices are connected to Binfer 6 server
- BES 5 clients can connect to B6 server.
- Existing Sync jobs will continue to work.
- Remote management of devices is not available.
- Transfer jobs sent from the device will transfer the files but the jobs will not show in the Transfer module.
- Devices cannot be updated from the server using the standard upgrade mechanism.
Follow these steps to upgrade BES v5 clients to v6.
- Download the Windows service - server/client - silent from the installers page.
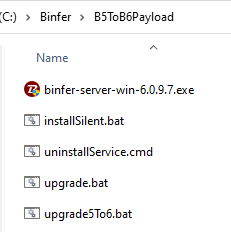
- Extract the zip file on the server anywhere. Binfer should be able to access this location. This is the upgrade payload location.

- Modify the upgrade script. See Edit upgrade5To6.bat section
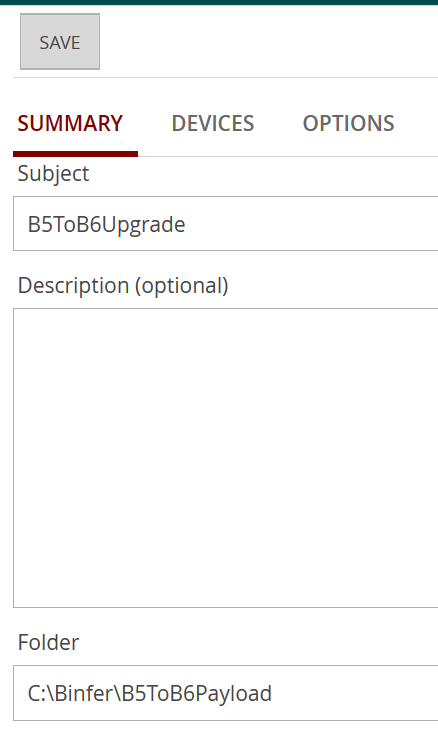
- Add a new Sync job.
- Subject: Give it name, for example B5ToB6Upgrade
- Folder: Set the payload folder path as the location

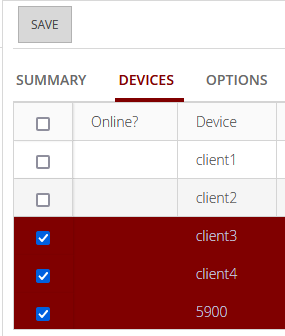
- Select devices that are to be upgraded.
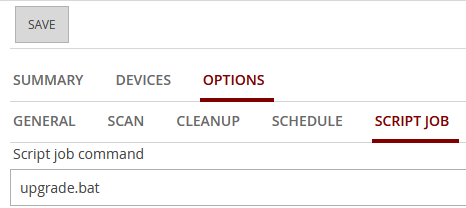
- Under OPTIONS > SCRIPTJOB tab, type upgrade.bat. This is the batch file that will be executed when the entire payload is delivered.
- Click SAVE.
- All devices should eventually be upgraded. You can verify their upgrade status by clicking on top right menu > DEVICES. The latest version should show.

- Click REFRESH on the top left BES 5 clients can connect to B6 server and can Sync and Transfer. area. The upgraded device should show.
- You can now connect to this device and manage it.
Edit upgrade5To6.bat
- Open the file named upgrade5To6.bat in a text editor.
Review and update the paths to match the target devices' paths.
set INSTALLPATH=C:\Binfer\LegacyClients\LegacyUpgrade5900\installdir\binfer-service
set SYSTEMPATH="C:\Binfer\LegacyClients\LegacyUpgrade5900\installdir\system"
set DOWNLOADPATH="C:\Binfer\LegacyClients\LegacyUpgrade5900\installdir\data"
set PORT=5900
- Save and close the file.
Do not remove the payload location until upgrade has completed on all devices added to the job


