Installing In Synology NAS
Pre-requisite: Docker package needs to be installed.
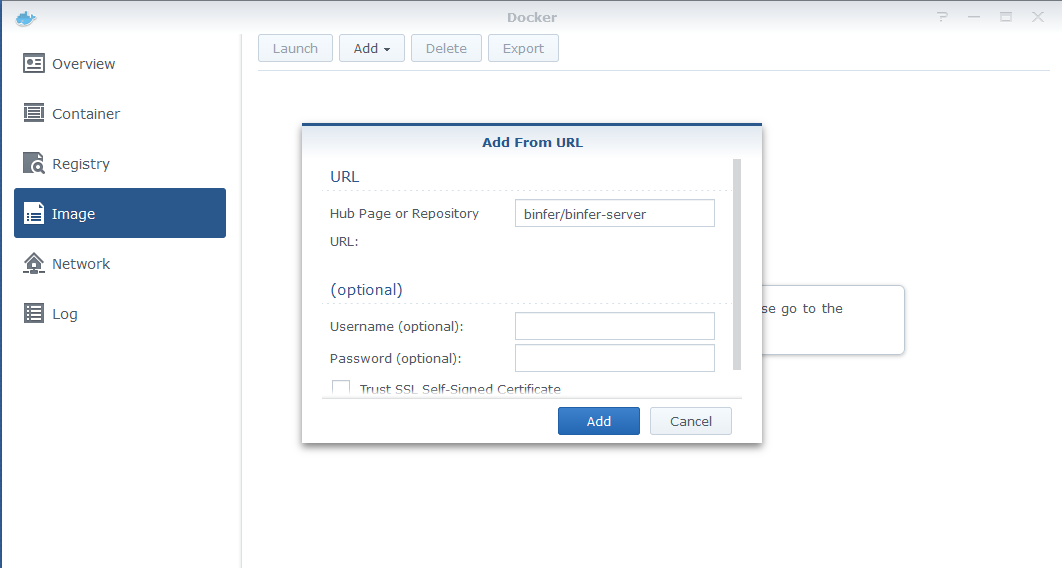
- Open the Docker package, click on Image, type binfer/binfer-server in the Hub-Page or Repository, and click Add.
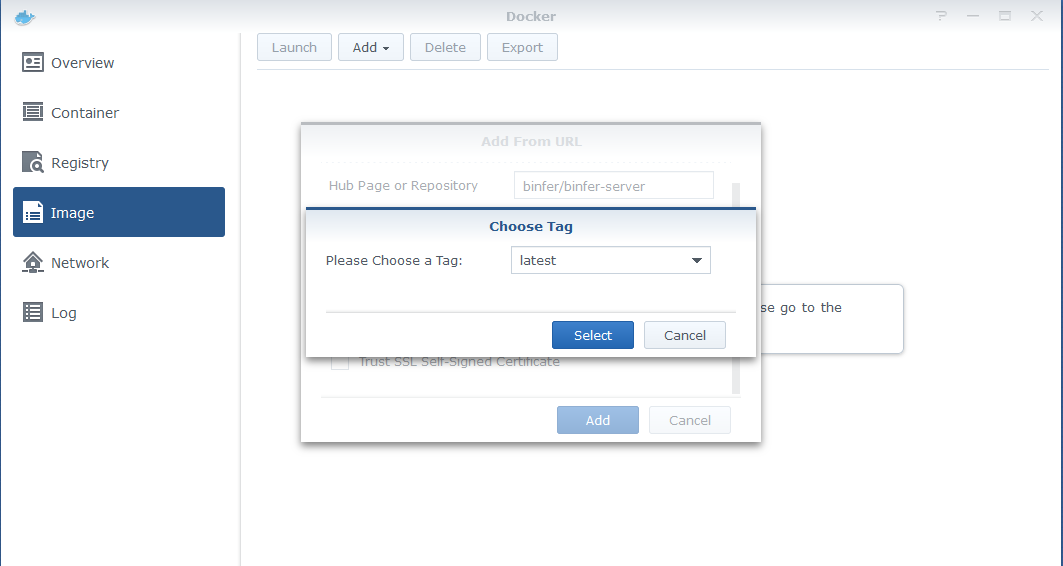
- Select the latest tag and click Select.
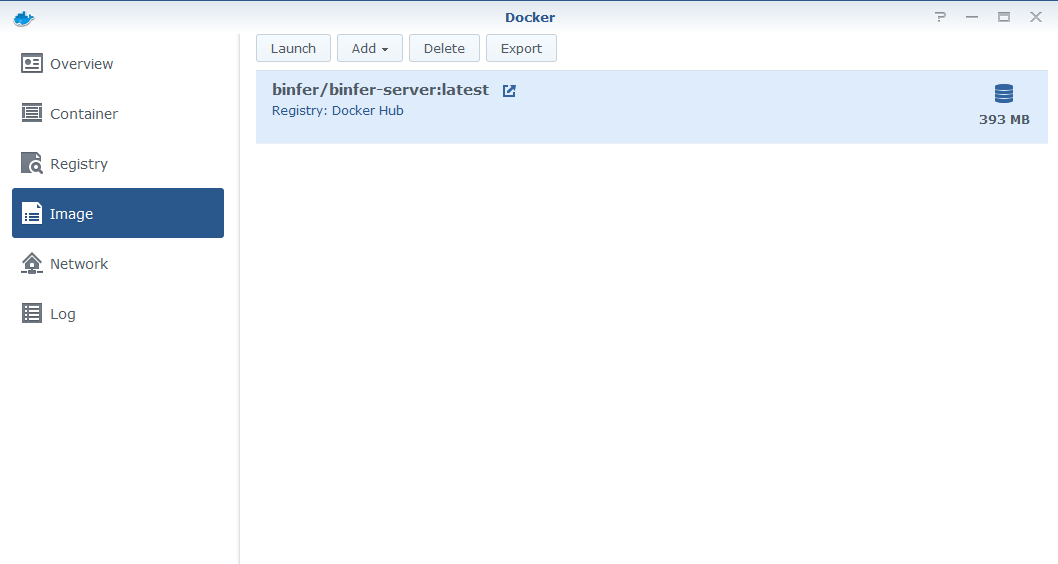
- After the image has downloade, select the binfer-server image and click the Launch button to create the container.
- Set the name of the container and then click the Advanced Settings button.
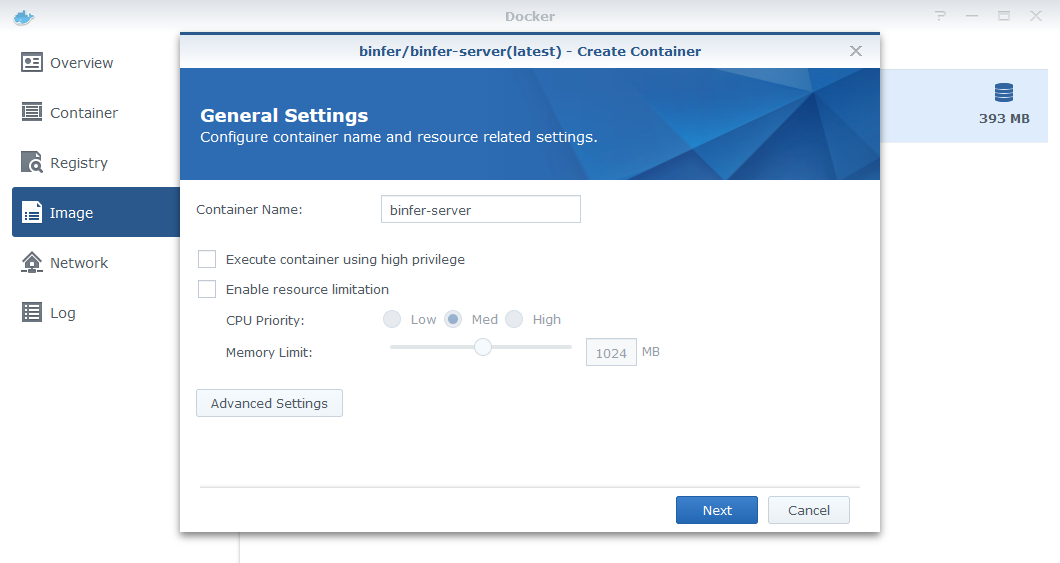
- In the Advanced Settings tab, check Enable auto-restart.

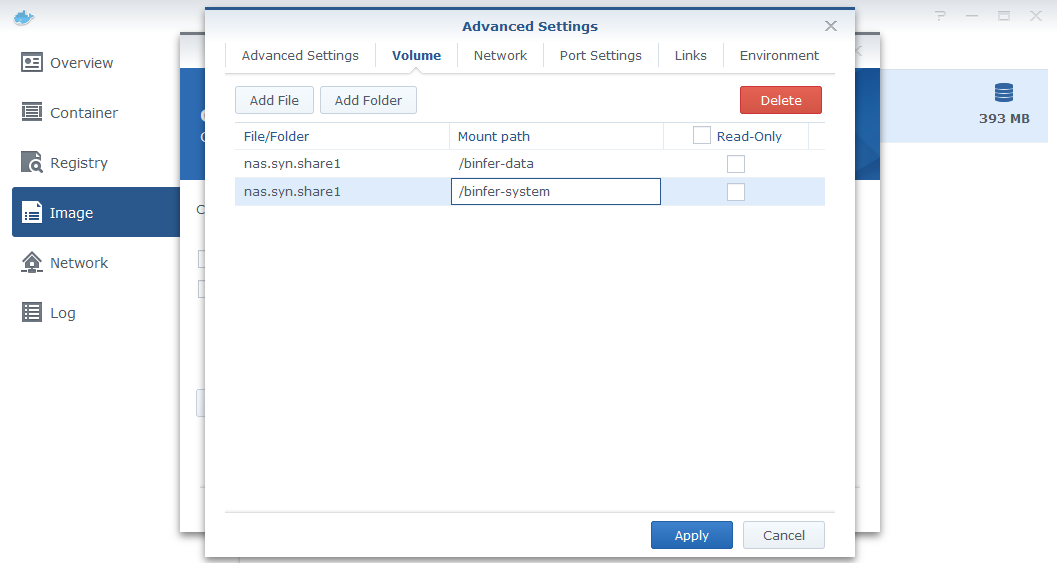
- In the Volume tab click Add Folder and add two folders, one for system and another for data.
- In the Port Settings tab, add port 1212, if not already added.
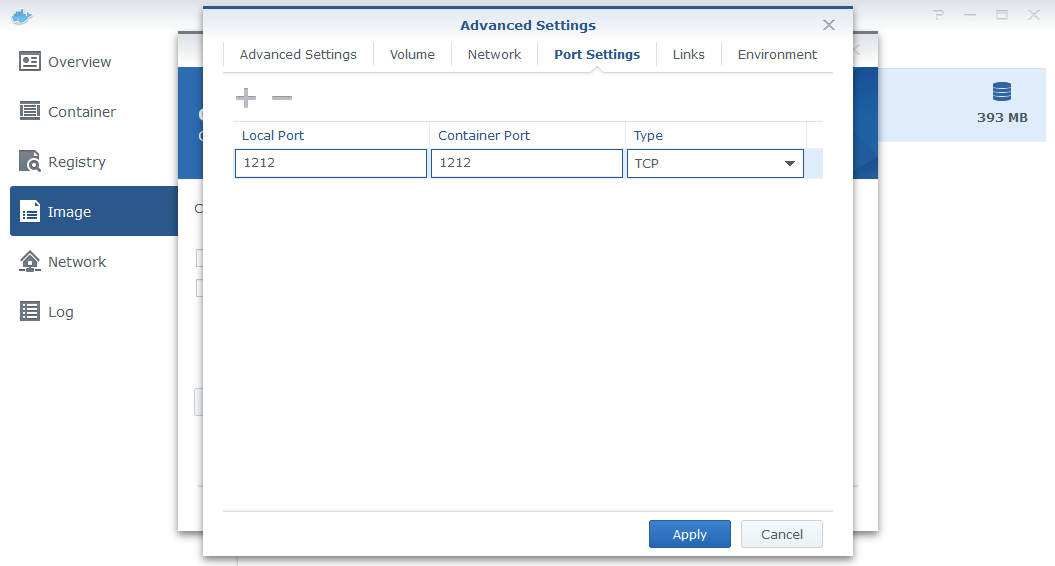
Both the Local Port and Container Port should be the same.
- Click th Apply button. The Advanced Settings window will close.
- Click the Next button.
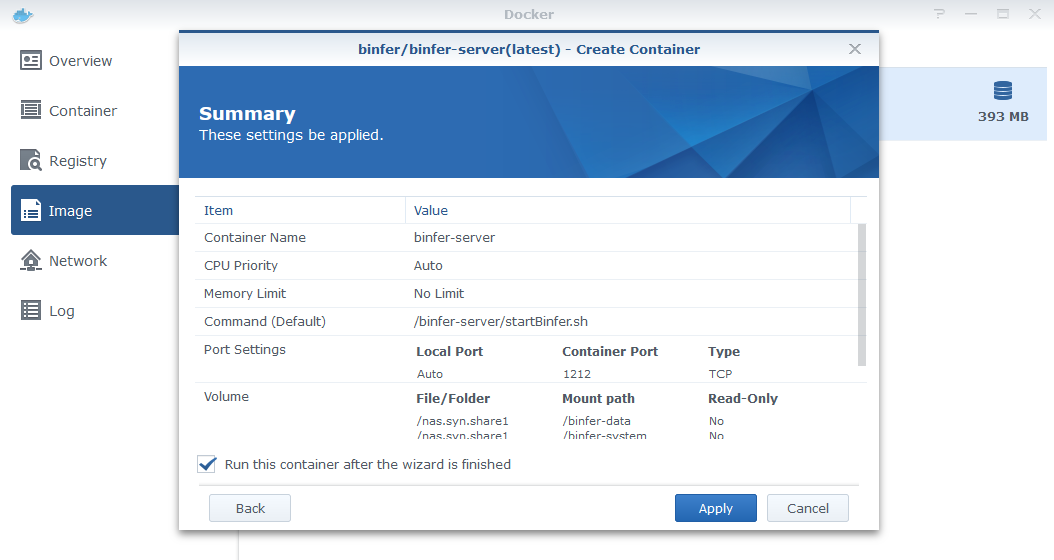
- Review the settings, check Run this container..., and the click the Apply button to add the container.
- From your browser open link http://{syno-ip}:{container-port}/b6/manage and Binfer's configuration page should open.
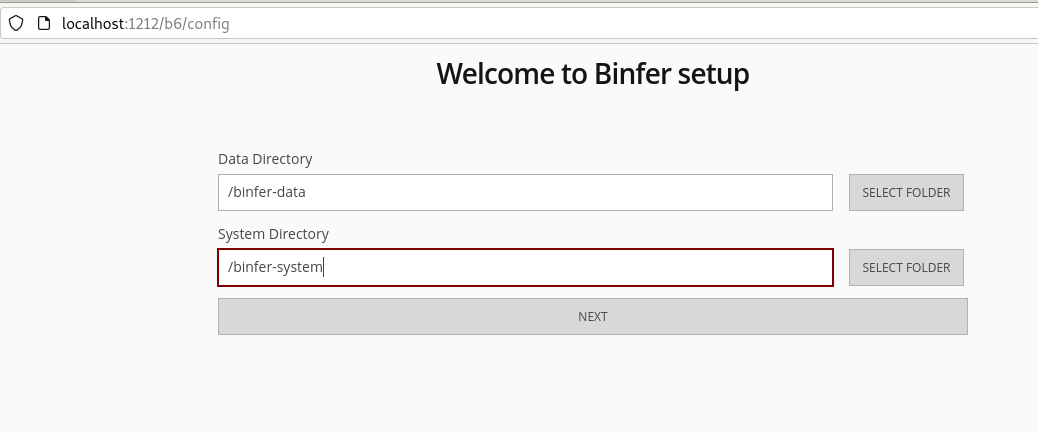
- Continue with First time setup.
Ensure that the paths you set for the Data Directory and System Directory match the paths you've defined as volumes. Ensure that any external firewall have allowed port forwarding to the container port on the Synology NAS.